Showing posts with label Organization. Show all posts

Sunday, January 8, 2012

Scramp Station

My stamping & scrapping space is in need of reorganization because there's a reason I'm not SMASHing.  Plus, I'm also doing Project Life this year. 

For SMASHing and PLing, I need supplies right at hand.  With birthday gift card from the DH and Christmas gift card from Mom...and I have $$ left...I purchased two desk caddies at Michael's.  Rearranged some things and I now have a work space that looks like this:

Loving all the workspace!
See the big space to work in?  Love it!

Here's a different angle:

Scramp Station from another angle.
 What I used to have:

Prior arrangement.

I moved my carousel from the right to the left.  I'm right handed, but it frees up more useable space this way.  I moved the photo printer to a different location.  The larger printer shown in the first picture, on the far right, is still in the same location.

Let's step back a little bit and see the rest of this section of the scramp station.


Hope you enjoyed the peek at my scramp station!

Thanks for stopping by!  Have a moo'valous day!


Wednesday, July 27, 2011

a SMASHing Idea Book Pagination

My SMASHing idea book is coming along with each project I create.  Sometimes I do make the page before I put away the supplies from my projects, other times it's all about the page.  The sets are in random order, so I have an index...

a SMASHing idea book - Index

...and page numbers...

a SMASHing idea book - Page numbers at the bottom of most pages
a SAMSHing idea book - Page numbers at the top of some pages
My SMASHing idea book is not an alphabetical index of what I HAVE, but rather an idea book of how to use what I have.  My goal is to write down ideas before I purchase a set, then when the sets get here, make the SMASH book pages.  I'll eventually have both - a stamp inventory AND an idea of what I wanted to use those sets for.  The ultimate goal is to use what I have.  Ideally, I won't be stumped for a crafting idea because I have realized there is no way humanly possible to use every craft product I have.  I just have to keep my mojo flowing and if using an idea books on days it's not flowing freely gets it flowing, then I'm all for it.  I have lots of ideas for things but I cannot do them all at once and I cannot use up precious brain cells trying to remember all of them.  Brain cells are getting in short supply anyway. 

When I started my page numbering, I chose my favorite SU! products.

Tidy Numbers (retired)
Tidy Alphabet and Tidy Numbers is my go to set!  Easy to trim and looks good with just about everything!

Wild Wasabi ink.

A great way to use up scraps!
I do a little at a time, so I don't get bored and so I can use up scraps!  Works for me.  Have ou given any thought to how you inventory your stamp sets and / or keep up with your ideas for particular stamp sets?  How do you do it?

On another note, I still haven't decoreated the outside of the book yet.  LOL.

Thanks for stopping by!  Have a moo'valous day.

Wednesday, July 13, 2011

Eyelets, Brads & Onesies

Remember when I went nuts with the PTI Onsie Die?

PTI Onsie Die Cut Outs
I'm making progress...all the onsies now have "snaps".  I was going to use brushed silver brads; but as I got started, I found I liked the colored and white better.  Each onsie has a sticky note that tells the DSP name and the coordinating colors.  I wanted to use "basic" brads.

Marked & punched holes for the brads.
I used eyelets on a few onsies.

Eyelet onsie "snaps"
 Most of them were decorated wtih brads.

Brad onsie "snaps"

Quite a few years ago, I particpated in a brad & eyelet share.  I received all the current SU! colors in brads & eyelets, including that year's "in-colors".  I remember it was the first year SU! had "in-colors".  The brad & eyelet share arrived in bags and unlabeled.  OMGosh!  What a pain.  I had to match up and label the brads & eyelets with the corresponding SU! color.  I stored them in these:

Brad & eyelet storage for SU! basic brads


Brad & eyelet storage - bird's eye view

Remember, these are just the "standard" brads & eyelets, in solid SU! colors.  I used a sharpie marker to label each compartment and each box.  I store these in a labeled photo box.

Black photo box for storage of brad & eyelet cases

Brad & eyelet cases, in alpha order by the OLD SU! color families

I did not change the color families when SU! did the color renovation. First, because I won't have all the colors; second, I can recite the old color families in my sleep; third, too many retired. Oh heck...it's just easier! LOL. I do have my stamp pads and card stock by the new color families.

Brad & eyelet cases, in alpha order by the OLD SU! color families

Hope you enjoyed viewing the progress on the Onsie project AND the peek into my stamp room at one of my storage solutions. 

Thanks for stopping by!  Have  moo'valous day!

Sunday, July 3, 2011

Scrap Pile

Remember the scrap pile from my last post:

SU! punched pieces...soon to be embellishments for my SMASH book!

Die Cut pieces from PTI's It's A Jungle Out There die.

I punched the TAR out of the scraps.  LOL.  NOW...big thing here...is use them!  ;-)  For time being...I have stashed the SU! punched shapes here:

Punched shapes in small tin.
I think I had purchased these tins from the SU! Clearance Rack a while back.  I just simply shopped in my craft closet...ahem...hall closet for a storage solution.   It's portable...thin...space saving...and I can leave it right there and it won't be in the way...but I know I have some neato embellishments...ok...they are still plain right now...but not for long...neato embellishments right at hand for my smash book.  YES!

I have:
Arrows.

Large & small stars.

Modern labels.

Photo corners.

Small hearts.
All tucked away in here.

All tucked away.

I will be sharing the Decorative Labels all dolled up...and y'all thought I was gonna leave 'em all white?!?  LOL.  ;-) 

Thanks for stopping by!  Have a moo'valous day!

Tuesday, June 28, 2011

Grand Soiree

I love the chandlier image in Stampin' Up!'s Grand Soriee.  I had already unmounted this set a while back; I had not stamped the cover for the case.  I wasn't feeling to good today, so I decided to do some low key stamping.  I stamped the cover and created a page in my SMASHing idea book.


There's plenty of room to jot down ideas.


I just had to add some sparkle to it! 


Thanks for stopping by!  Have a moo'valous day!

Monday, June 27, 2011

PTI Order

I'm an SU! gal.  I spent quite a bit of time debating my purchase...but I need sentiments for inside my cards AND I need to get cracking on baby stuff.  Since my niece is gonna have a boy in August and we're all going baby, I figured this would be a good time to do my son's baby book, too.  LOL 


Uh...no...the cat didn't arrive from PTI.  I was trying to photograph my order and... I gotta give my cat some attention.   


Three stamp sets...


...two dies and two ink spots.  These are the first dies I've had from PTI.  Interesting.  Very compact, thin, space saving and probably, easy to loose.  eek.  I hope not...easy to loose, that is.

PTI sets come with a jewel case to store the sets.  I tried to use them...but one set was simply too big and I could not see what I had...too confusing to read a clear sticker and have clear stamps.  eek.

So...I used a SU! stamp case.  On these two, I used the PTI labels.  I put the labels on brown copy paper cut to insert size.  I used brown paper, so I can immediately pick out SU! and PTI sets when I open my stamp drawer.


On the third one, there were two labels.  I decided to stamp the sentiments and not use the stickers.
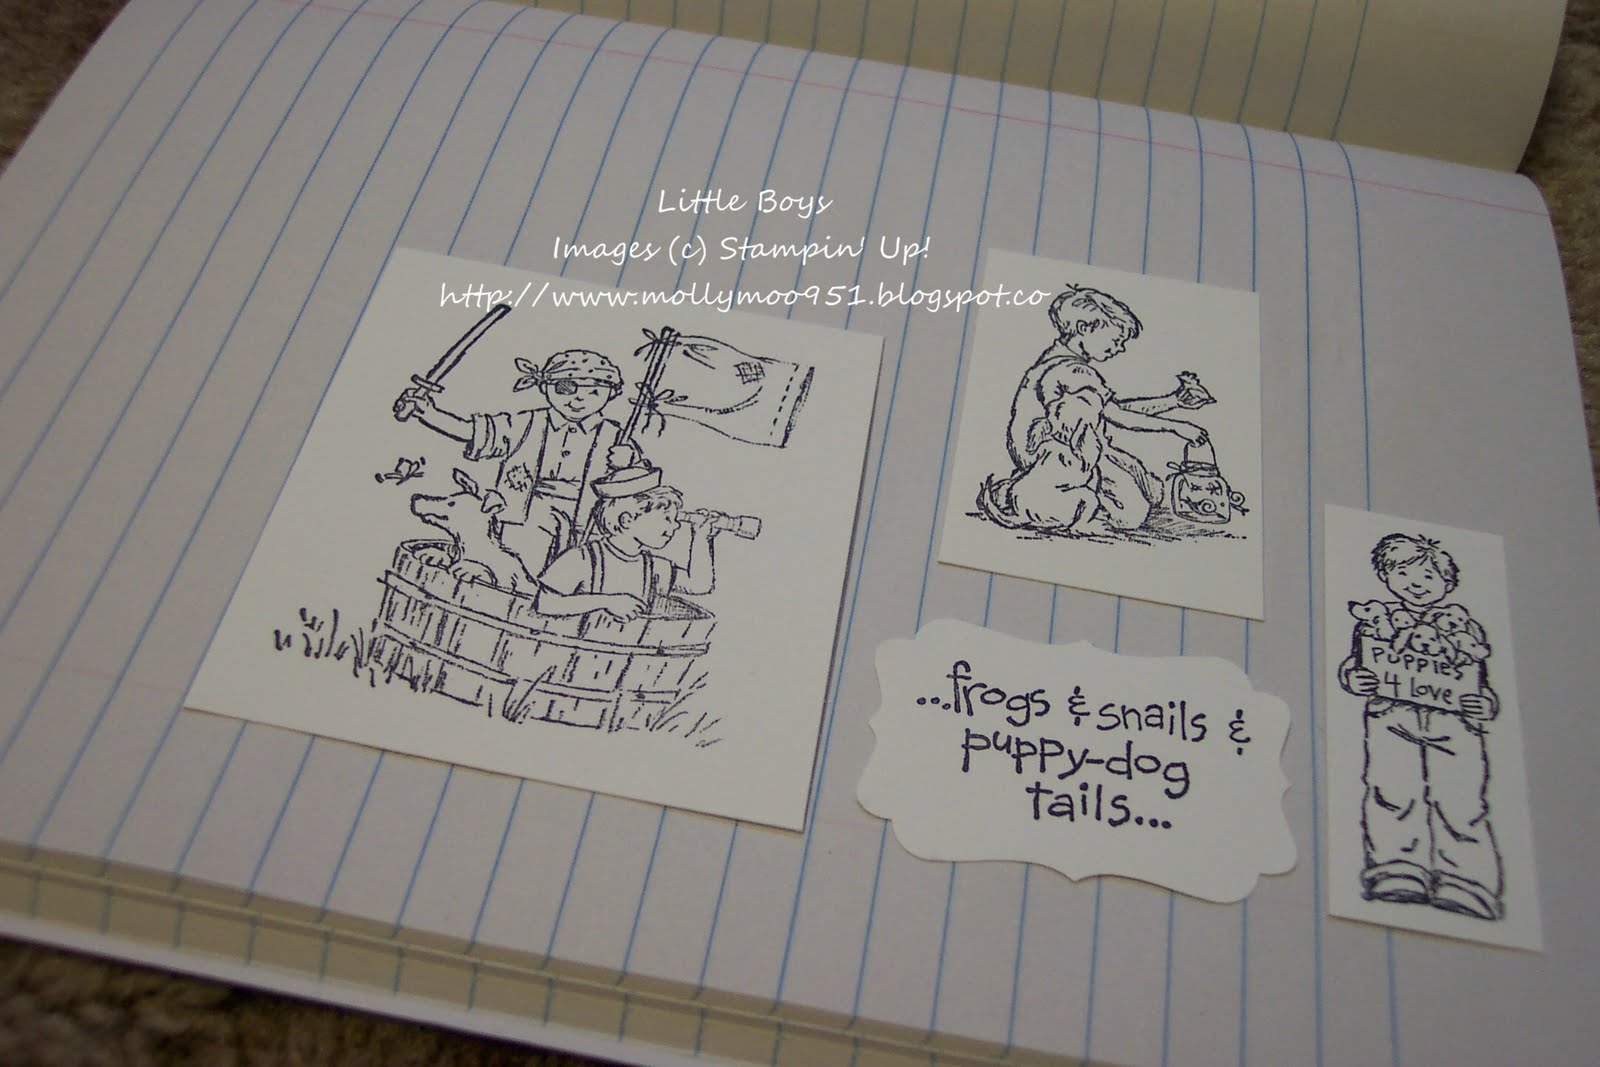
 
Here's the inside:


Those particular three images didn't stamp fully because of the bump on the back, the CS label I cut from the belly band that was on the original packaging.  So I stamped those on white CS, trimmed them and then run them through Xyron. 


TIP:  I traced around each image with the paper piercer.  Why?  Sometimes I get more sticky than I want...glue strigs and stragglers on the edges of the images that I don't want.  I discovered if I traced the image with a sharp instrument, there are no exposed sticky stuff.


I'm loving this...the sentiments are in the same order as they are stamped on the cover.  I can actually read the sentiment stamps through the cover, especially since they have been inked up.

Here's the SMASHing idea book page for this stamp set:


I'm glad I stamped the sentiments...cuz I have a better idea of what I have. 

Thanks for stopping by.  Have a moo'valous day.

Saturday, June 25, 2011

Found Organization

Lots of thoughts combined to create this idea.  As a teen, I was active in 4-H and won many awards.  Among those awards were four silver trays / bowls.  They have been in storage for years. 

If I'm going to keep something, I want to use it and enjoy it.  I had no ideas on what to do with them other than look at them & dust them?  No thank you.  ;-)  So in the bin they stayed.

Then one day, I was on Mish Mash, Michelle Wooderson's blog.  She had found some small vintage silver bowls.  While she's working on projects, she uses these to hold her buttons and such.  I didn't think much of it...until later I remembered the silver trays I had...


It's nice to have them out & cleaned. 

Here's what I'm doing with one of them:


I was using this:


Cute box...dust free...but outta sight, outta mind.


So...I put the pretty box up on the ribbon rack with another of my trays.  I'll be using that tray for the parts of my mass produced cards.  Easy to put away & pretty to look at.

What special items have you used as "found organization"?

Thanks for stopping by!  Have a moo'valous day.

Friday, June 24, 2011

Stamp Inventory...SMASH Book Style

I've struggled with how to inventory my stamp sets.  I hadn't come up with anything useful in the several years I've been stamping.  I tried this:


I stamped images in black on white cardstock, put it in a sheet protector & stuck it in a binder.  That's where it stayed.  Nope...never really used it...never got the project completed.  Not gonna work.

I tried half sheets of cardstock to be filed in a box...ditto.

Until the day before yesterday.  That's when the seed was planted.  A fellow FLYBaby mentioned a "SMASHing" idea...cutting up old SU! catalogs to inventory her large collection of stamps - SMASH Book style.  I think she's onto something.  I had an extra current year catalog...I cut it up!  It was hard...but it was an extra.  ;-)  What do I put it in?

Aha!  I run to the hall closet and pull out this:


How do I get them in...masking tape...I taped in THREE.  Then I grabbed the Mono Multi and glued 'em all in!  For some, I cut out the projects shown in the catalog if it was something I wanted to case.

Today, I took it with me and when an idea for a page or use for a current stamp set hit me...I wrote it down.


I do this for all the current stamp sets...not perfect...but it gets my inventory started.  What about those retired stamp sets?  Or those that I have stamped CS sheets for?  THIS:

TRIM ' EM !

COLOR ' EM!

GLUE ' EM!


I think I'm gonna like this one! 

Thanks for stopping by!  Have a moo'valous day!