I decided to try a new style. Shabby chic. Me, the neat nic...shabby chic. But, after it's all said & done...you can see the cripsness...I think I like the freedom.
This project consists of 11 cards...mass produced...Michelle Wooderson style. ;-)
I cut & scored 10 card bases...added the 11th later...using PTI White.
I wanted to use DSP I purchased on SU! pre-order, specifically, the Flirtatious Specialty DP from Stampin' Up! to be available in the new IB&C. The colors are Melon Mambo, Pumpkin Pie, Pretty in Pink and Wisteria Wonder. I think there's some Daffodil Delight in as well. There are two laser cut sheets of doilies. I cut these apart to create 16 individual doilies. I was go glad to have my new sharp SU! Paper Snips for this job!
It took a while; but, it sure is pretty. :-D I took a much needed break after this. ;-)
I decided to do something easy, cut the main DP panels. These are 4 x 4 squares, with rounded corners.
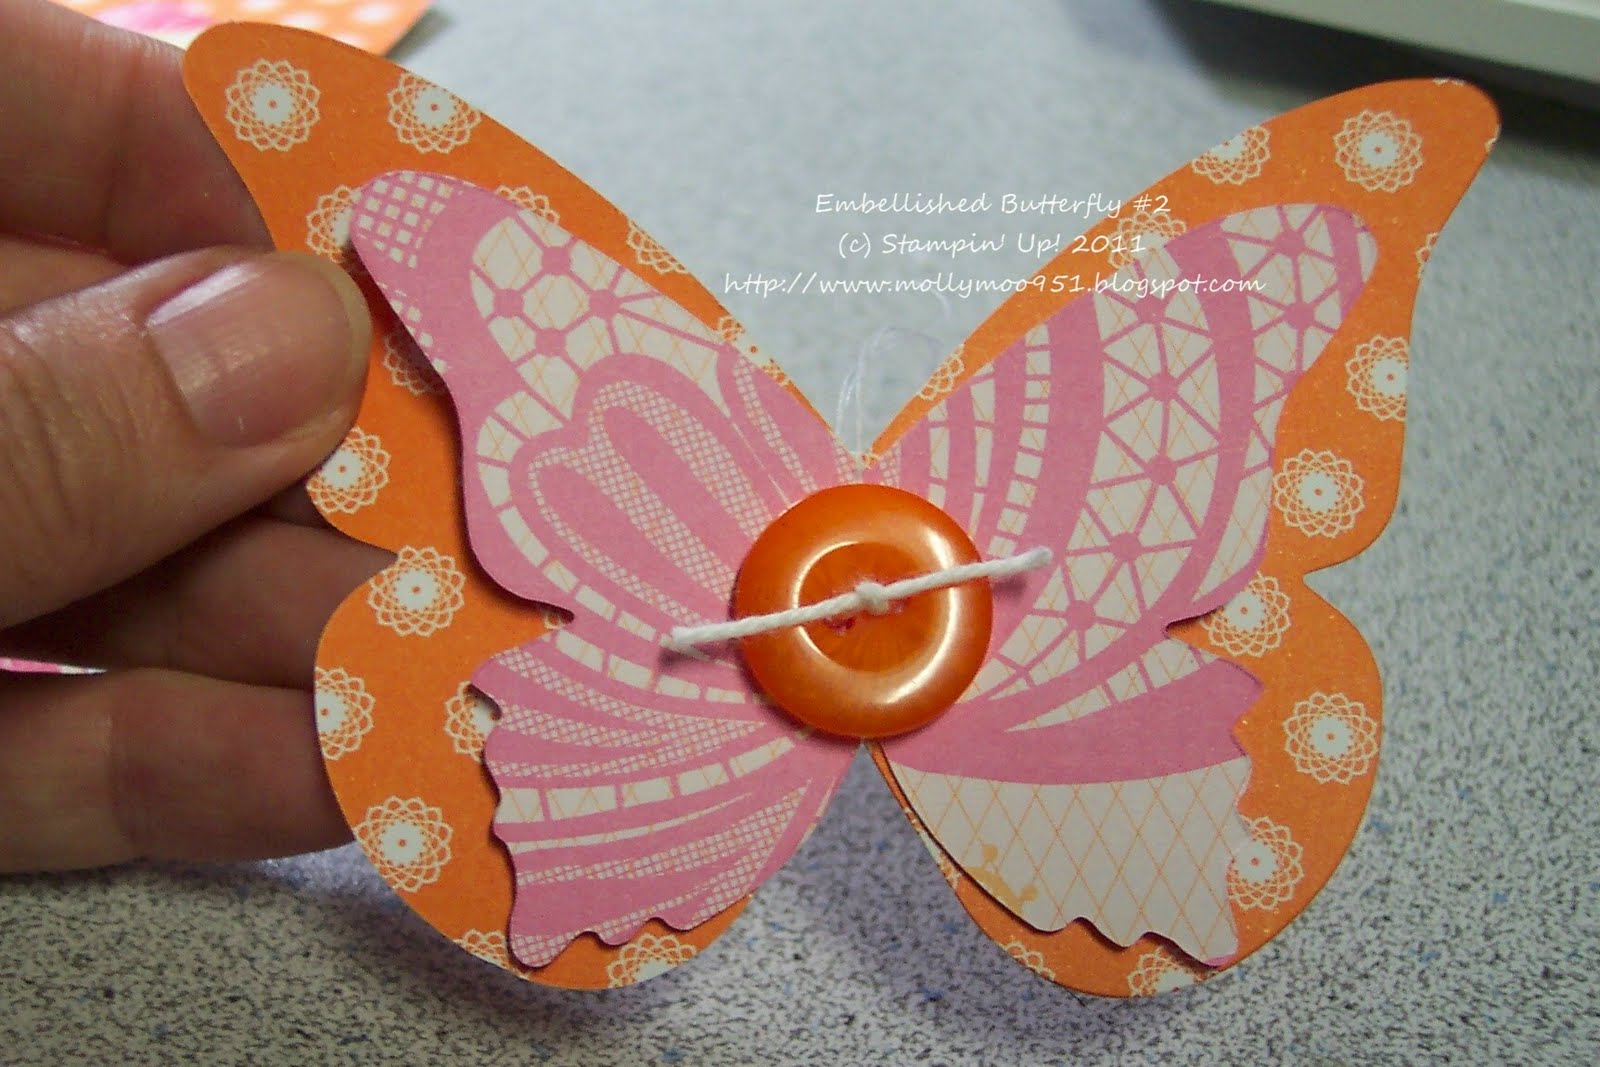
I have discovered that I love making my own embellishments! I die cut butterflies, layered them and machine stitched; then added buttons.
Have you sewed on your cards or scrapbook pages? This is the first time I have ever sewed on paper. I LOVE IT! OMGoodness! I love it! I think because I have gotten my craft room arranged & decluttered where I can just grab the machine & go! I have a Janome Sew Mini I use to sew on paper.
I decorated the butterflies with buttons sewed on with the new SU! Baker's Twine. OMGosh! I love the baker's twine. It's wonderful! I wish I had left the threads long at the top of all the butterflies, but I did on the larger ones & you can see that I stitched it. On the smaller ones...ahem...the button covers the stitching. LOL Oh well...you can still see if it you look closely and I sure had fun stitching! The buttons are from Stampin' Up! Designer Buttons Sherbet.
Here's another one:
Next, I STAMPED! Yes, I stamped. I stamped (have I said that already?) I stamped a sentiment on a strip of Flirtatious DP and then embellished the strip with...ahem..."scraps" I die cut from the whole sheets of Flirtations DP. I'm positive y'all have double fainted already.
Yes, I made "scraps". LOL Die cut with the wonderful Tasteful Trims Bigz XL Die. I chose two styles from the die - the large ric rac and the scallop border. Then I cut the die cut pieces up into little pieces. :-)
I sewed the "scraps" to the sentiment strip! Like so:
All the ingredients:
Tomorrow, the fun begins. I put all this together & make cards!