Showing posts with label Technique Mixed Media. Show all posts

Tuesday, November 14, 2017

Mixed Media Fun - I'm NOT cold!

One of my favorite things to do is to have morning coffee on the porch sitting in the swing while talking with my husband.  While the morning sun can get to be a bit much once it pops over the tree line each morning, it sure is nice.  I try to extend the "swing season" as long as I can.  "Swing season" currently encompasses "daylight savings time".  So, yeah, as I write this, my swing has just begun hibernation and my outdoor living area is prepped for late fall / early winter.  

It's cold now.  Like 32 degrees cold.  But just three weeks ago, it was 50 degrees in the morning.  And that was a tad chilly.  It's all relative.  Come January, 32 degrees is no longer gonna be "cold".  

So, here I am, sitting on the porch, waiting on my husband.  

 
What you cannot see is the blanket I've used to wrap my legs.  LOL.  My husband, walking up the sidewalk, got a chuckle.  I'm not cold, I said.  And really, I wasn't - under the housecoat and blanket. 

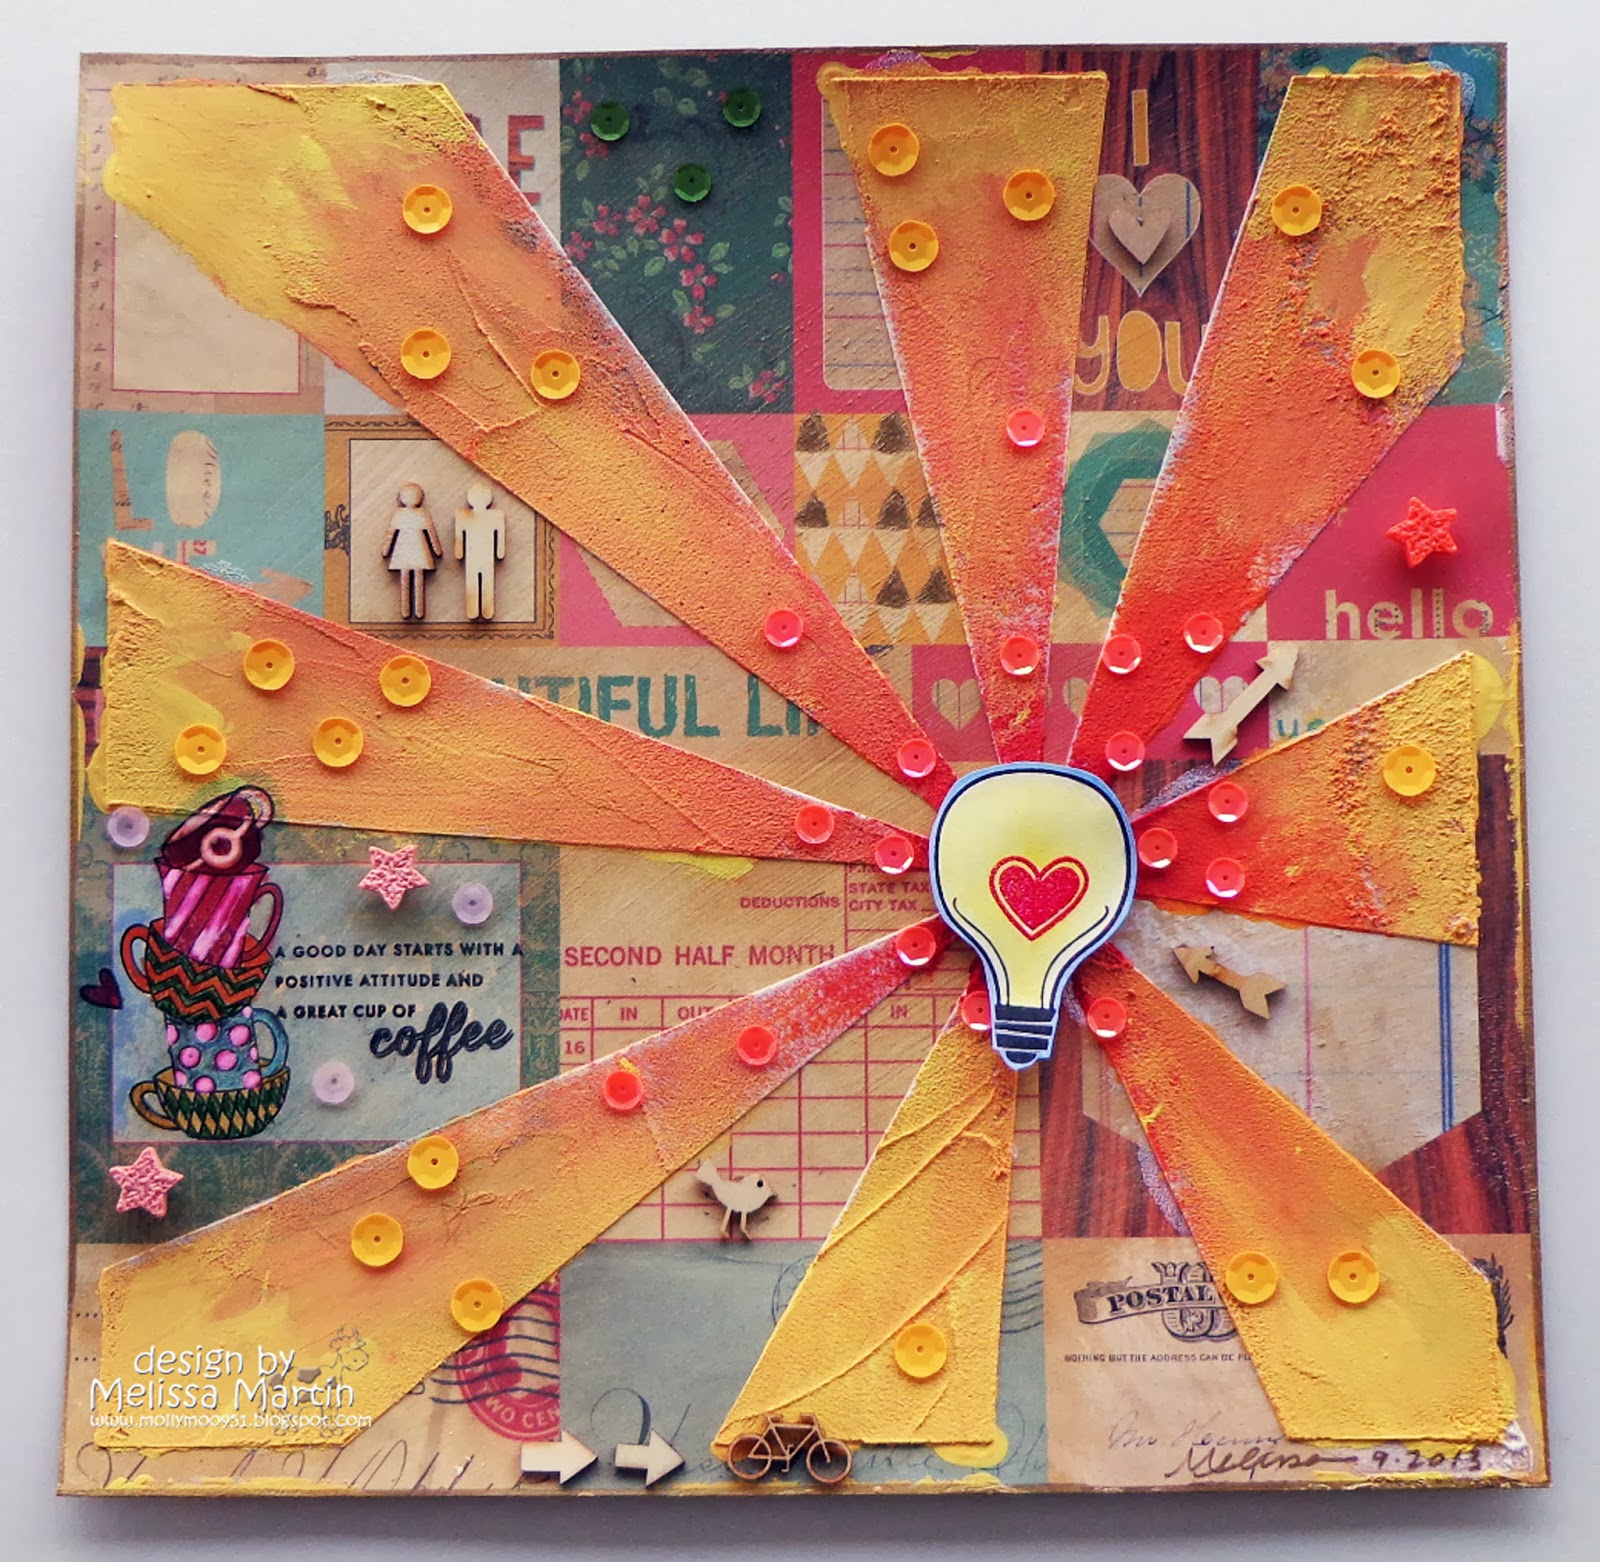
The background on which the page is built is a mixed media piece featuring a technique called "Drunken Acrylic Reveal".  It uses layers of watered down acrylic paint with drops of alcohol to reveal previous layers.  The effect can be quite dramatic, depending on the colors chosen and the order in which they are applied.  My results were subtle and not at all what I was expecting.  I attribute some of that to the brand of acrylic paints I chose to use - as these just don't mix well water water and the lighter colors tend to be transparent rather than opaque when layered over darker colors.

Thanks for stopping by!  Have a moo'valous day!


Saturday, November 11, 2017

Christmas Card Parade - 2

The week before Halloween, I made Christmas cards.  Yep.  This didn't start with Christmas cards in mind.  It started because I wanted to "get messy" and play with mixed media.  I started with a cool twist on the shaving cream technique and wound up with four cards.  Here is the second card.


Hanging ornaments with a scattering of sequins!  I love the subtle pattern on the red layer and the subtle swirls of red throughout the green background.  

Thanks for stopping by!  Have a moo'valous day!

Tuesday, November 7, 2017

Christmas Card Parade

The week before Halloween, I made Christmas cards.  Yep.  And as I type this post, I have a PL spread laid out for the week of Halloween.  For some reason, I was so glad to put away the Halloween decorations.  **gasp**  So, while I finish up this PL spread, how about I share some Christmas cards?  

This didn't start with Christmas cards in mind.  It started because I wanted to "get messy" and play with mixed media.  So, off to the mixed media drawer I go.  


Has it been that long?  My gel medium was jelly.  My crackle paste was rock hard.  And the lid on the matte medium would not budge.  The matte medium was salvageable - Dale was able to open the jar!  But not without a colorful phrase!    

Looking for mixed media inspiration, I decide to visit some class materials I had on mixed media projects and learned about a new way to do the shaving cream technique.  I chose a series of green (of course) reinkers (little bottles of liquid ink), grabbed a can of shaving cream (not much in the can and I could have used a shave - but hey - it's crafty time!) and got to work.

Out came several neat unique backgrounds that I made into four unique Christmas cards.  Here is the first one.


Not my original idea, but I thought this was really cute.  An elf.  A headless, arm-less, leg-less elf - but forget that part.  It's still cute!  I was pleased to be able to use so many neat items from my stash!  The doily (there's gold under that collar), the corduroy brads (um, hello!) and the POW glitter paper (the butter of glitter paper).  Plus a sheet of striped designer paper from a past December Daily mini kit.  I don't consider the black cardstock stash, but a staple - gotta have it.  

Thanks for stopping by!  Have a moo'valous day!

Thursday, November 6, 2014

MSM's Merry Christmas + Paint

I'm so in love with the acrylic paint in the cool tubes from Studio Calico's Color Theory line.  

Let me tell you a story.

My vision, inspired by a card from the Send Joy class taught by Lisa Spangler.


Firstly, I had none of the supplies for the card demonstrated in the class.  As a master counterfeiter (ahem) with a Silhouette cut file and a masked a portion of a sentiment from the SU! stamp set Christmas Greetings, I was good to go! 

I love the die cut "Christmas" backed with SU! Cherry Cobbler, cut using my lovely Cameo.   Using my handy stamp-a-ma-jig, I positioned "Merry" and stamped it in SC Color Theory Emerald City.   Not my favorite green, but it is a really nice green for Christmas cards!  Then I squished some of that same not so favorite green into my tray, grabbed a paint brush and got to swathing paint!  I had only die cut four cards...and ooops, I had way too much paint in my tray.  Since it comes in nifty cool tubes, there was no way to "save" it, nor was I washing it down the drain.  I decided to use the rest on six more card bases and eventually came up with this:


This one might be my favorite of the three.  Funny how that works out.  

When I was gluing sequins on the die cut card, I didn't realize that T-2 (cat) had knocked one of the die cut cards off the desk until I was all set & done!  So, I wound up one like this:


I just call that my "less" version.  I sorta like it better than the "more" version.  And I really have a thing for sequins.  Hmmm...

That other green is called Mint Hint, another "favorite" (ahem) green of mine.  However, I will say, again, that they look moo'valous together on a Christmas card.

Green is my favorite color.  However, I tend to lean towards a true John Deere green and a more yellow green than blue green.  I do not like SU! Certainly Celery or any relatives, such as Mint Hint.  LOL.  That may change.  Who knows.  But I did get rid of every single sheet of SU! Certainly Celery I had.  Maybe it reminds me of limp, stringy celery and "ants on a log."

Well, that's 10 more fun, easy & WOW Christmas cards.  Bonus points for flat & easy mailing!

Thanks for stopping by!  Have a moo'valous day!


Monday, April 28, 2014

almost THREE


Is she cute or what?  

I prepped my paper with gesso.  Then I fussy cut a sheet of patterned paper from the SC Atlantic Collection, a sheet with all those circles.  I adhered the cut out with gel medium and outlined the circles with Neocolor ii crayons.  Using a watercolor brush, blended the color.  I misted the with Mr. Huey, added my photo and embellished with items from the Atlantic Collection.

Thanks for stopping by!  Have a moo'valous day!

SUPPLIES:
Paper: SC Atlantic Collection
ccessories: SC Atlantic Collection, Neocolors ii, gesso, gel medium

Sunday, April 27, 2014

@ the NOZZLE


This particular mixed media project involved colorizing photos using Neocolors ii.  It was an interesting experience and I'm quite pleased with the results.  I know, **gasp**, mutilating photos.  LOL.  That's why we digitize our photos.   I will most likely scrap this photo again for the boy's book.  And I will "leave it alone".  LOL.

I do like this.  A lot.

Thanks for stopping by.  Have a moo'valous day!

SUPPLIES:
Paper: Papers from various past Studio Calico kits
Accessories: Neocolors ii, gel medium, SC (shop items: Color Theory black alpha & yellow/orange enamel dots, cobalt square sequin, wood veneer speech bubble; past kit items: die cuts & flair, chalkboard tape & marker, Amy Tan vinyl letters, speech bubble)


Friday, April 4, 2014

Everyday is a Celebration!

Don't settle for celebrating Taco Tuesdays with margaritas every week!  

Celebrate every. single. day.


Thursday, April 3, 2014

Keep Going!

This quote from Winston Churchill makes me chuckle.  Then I'm like...well duh!  LOL.


I used upteen supplies and got messy! 

Thanks for stopping by!  Have a moo'valous day!

Saturday, October 26, 2013

AMMCC10 - Happy Birthday to YOU

I have lots of favorite things going on with this project!  I'll start where I started.  LOL.  With a color challenge. 


And an ugly piece of designer paper.  ahem.  **cough cough**  I know, I said favorite things.  But, it's my favorite now.  And look at the dark woodgrain paper!  It has an embossed woodgrain.  I love it!  OK.  I digress.  Back to beautifying that...ahem...ugly paper.  What was ugly about it?  It was slick, shiny and a harsh funny looking brown. 
 
I had several tries in getting this paper to look nice when stamped on.  I should mention also that SU! Field Flowers has a learning curve.  OMW!  I have seen beautiful stamped images with this set...but um...I used many sheets of scrap paper trying to figure out that the...ahem...I digress.
 
 
And I tease GARFIELD about his kitty kat ADD?  hee hee OK.  Beautifying ugly designer paper.
 
Vanilla Ice Cream acrylic paint alone just didn't cut it!  It needed some tooth on that slick shiny wood panel designer paper.  I mixed some Vanilla Ice Cream with some gesso...and wow!  Um...that's acrylic paint + gesso.  ;-)  And now that I think about it...Vanilla Ice Cream with chocolate chip & fruit punch.  wow. 

I wasn't too happy with the original stamped image, so I added some Fruit Punch stickles & smeared it around with my finger.  WOW!  (No, I didn't lick my finger.)  I had found a sketch via Pinterest, so I got to taping.  Then I dug out a muslin banner and stamped the sentiment using Antiquary Card Kit stamp set!  Then OMW!  eep!  Look at the straight lines.  ;-)   Circle veneer & a bicycle to the rescue!  And a ca-ute tweety bird.  When I first received the "tweets" wood veneer...I thought...ugh.  It's become one of my favorites to play with.  Who am I kidding?  All wood veneer is my favorite to play with.  And sequins?!?  Shut the door!  I have sequins galore.  I use them, too.  No sense in hoarding.  
 
 
I'm a happy camper.  Now, that's mixed media, mollymoo style.  LOL.
 
Thanks for stopping by!  Have a moo'valous day!


Saturday, September 21, 2013

MIX34, Halloween Style

Still coughing...but at least, it's productive.

I have Halloween crafty goodness out.  Yesterday, when I picked up the MAMBI pad at Michael's, I also picked up more acrylic paint.  Soon, I'll have most shades of the rainbow!  I love acrylic paint!  Mister Huey is pretty good, too.  So when Friday and a new mix-a-bility challenge rolled around...I was ready to go!
 
MIX34 challenges us to "paint x2".  Acrylic paint + Mister Huey and traditional ink.  Inspired by a Pinterest pin,  I came up with these two:


I love 'em.   The left one is sprayed with Opaque White; the right is "droppered", then dabbed.  I sprayed both with Mister Huey Shine...they are sparkly...no...shiny and not shiny.  There's lots of visual texture, I suppose I could call it that.  I want to rub my fingers across the cards...they are almost smooth...and look like patterned paper!  I'm loving the Martha Stewart glitter die cuts!  I'm down to one witch, one cat and a handful of stars! 
 
Here's the inside of one; both are the same, except the Pebbles Chalkboard stickers (from SC Licorice Double Scoop add-on) are different shapes.  I cut into more MAMBI paper from the 6 x 6 pad!


The witch is flying outside...and they are in line to go visit the haunted house!  OH NO!  wait!  The witch standing in line is throwing a fit because her broom didn't fly fast enough.  LOL.  I wanted to be first, she says, stomping her foot!  Personally, I think her broom went plenty fast enough...she scared the cat!  I think she got lost, too...first she's going west, then she's going east...but HEY! better late than never. 


Thanks for stopping by!  Have a moo'valous day!


Friday, September 20, 2013

Happy Halloween

I have been blessed with a lovely case of bronchitis.  I'm hoping I'm on the mend because my mojo appeared!  I want to play with Halloween goodies...I mean...make Halloween cards.  So...feeling halfway decent today, after work I went to Michael's.  I picked up some chalkboard paint and a lovely 6 x 6 pad of MAMBI Halloween paper!  I have oodles of 12 x 12 Halloween paper, but that's for scrapbooking only.  **wink wink**   I had no 6 x 6 pads of Halloween paper.  **gasp**  It made perfect sense that I pick up more Halloween paper in the 6 x 6 size.  The scale of the pattern in the 6 x 6 pad is perfect for making cute cards, right?
 

Being sick, I missed the deadline for the yellow, orange & khaki color combo.  I'm still gonna do my idea.  I disgress.

This is AMMCC8 and SC454

The colors...


...and the sketch.
 
 
Now that proper introductions have been made, let's get acquainted.


The mixed media portion is the main panel.  I painted the top with a chalkboard paint!  I love it!  Two coats...one horizontal, let it dry; then one vertical, let THAT dry.  I stamped the greeting with Versamark & white pigment ink (SU! Whisper White craft ink), dumped on white embossing powder (SU! Winter White) and blasted it with the heat gun. 
 
See those CUTE Halloween wood veneers?  From Studio Calico Licorice add-on for the Double Scoop SB kit.  I love them.  I also love that black candy stripe washi from Freckled Fawn that was in the Licorice kit as well.  The glitter cat is from my stash.  He has some companions...I plan on using them in a few more projects! 
 
Wanna see the inside?
 
 
Thanks for stopping by!  Have a moo'valous day!
 

Friday, September 6, 2013

What a BRIGHT IDEA!


1.  Mixed gesso & champagne mist shimmer ink; painted it on designer paper from Studio Calico's Spencer SB kit.
 
2.  Pulled out my Studio Calico sunburst mask & plastered on some light molding paste.
 
3.  Washed the mask, broke off one ray.  :-p
 
4.  Pulled out the sunburst mask again.  Applied red, orange & then yellow acrylic paint to the gesso.
 
5.  Washed the mask; broke off two more rays.  LOL.  (rolling eyes)
 
6.  Stamped the light bulb using Lawn Fawn "Future is Bright" from Studio Calico Spencer card kit.  I heat embossed the heart and watercolored the bulb!
 

7.  Attach light bulb with pop dots.  I made, colored and cut out several light bulbs.  I will not have to buy light bulbs anymore...I can just stamp more, I declare!  The boy looks @ me really funny.  ;-)
 
8.  Pulled out my NEW PTI Latte Love, stamped the coffee cups and the sentiments in Versafine Onyx Black.
 
9.  Pull out markers.  Color coffee cups!  Smear the black ink from "coffee".  Color entire block with SU! Bashful Blue marker!  Smudge problem solved.  ;-)
 
10.  Grab pink soufflé pen...highlight some pink on the cups.
 
11.  Grab the Krylon 18 kt GOLD leafing pen!  outline the page, work on some triangles! 
 
12.  Grab the sequin muffin tin.  use lots of pink and orange sequins!  spot the pink stars.  use two.  Green...where can I use green! 
 
 
13.  Open the veneer box I moved to get to the sequin muffin tin.  Place veneer all around! 
 
14.  Sign project with NEW Gold Sharpie marker!


I had fun! 
 
Thanks for stopping by!  Have a moo'valous day!

Monday, September 2, 2013

AMMCC6 - Take TWO!

I'm having fun.  LOL.  Here's take TWO on the AMMCC6.  Our challenge:


My page:

 
So...what did I NOT drag out this time.  ;-) 
 
Yesterday, I spent time with Cameo.  I got her some new materials & patterns to cut;  we made a scalloped stencil from stencil material.  mollymoo spent a little while poking out scallops.  LOL.  It was all good.  Anyway, there were some places it did not cut through...and I thought it was kinda sorta neat, ya know.  I still have pink, hot pink and gray on the brain.  SU! Pretty in Pink, taped on the stencil and went to town with light molding paste & a plastic picnic knife. 
 
Then this mornin' I dug through my Studio Calico Marks & Co scrapbook kit, RIPPED the paper & rubbed on some SU! Tea Stain.  Pasted that on...having hiked up to my shop earlier for a SU! background stamp...Print Pattern and slapped on some Encore Silver.  Went outside and sprinkled on some Mr. Huey Skyscraper...let me say, I gasped!  I forget it dries to a nice gray. 


I ripped some SU! fabric and stitched it on with some SU! gray taffeta, added some pinked velvet in light pink and hot pink...and then stitched on some wide gray grosgrain!  I'm loving all the frames around cute little T-2.  That was her first night in the house. 

 
Frames, die cuts, PL card, stitching template...all from Marks & Co.  The cat clip and the thickers, also from Studio Calico.  I love the look of the silver diamonds! 


Those splatters...the molding paste dries to a velvet texture.  Interesting. 


More stitching & splatters...and some silver diamonds!


Another page...that started just cuz...turned into a neat page featuring T-2.  LOL.  She sat in the window taking a nap the whole time I worked on the page!  'cept when I went outside...she followed me to the door.  What a cat!
 
Thanks for stopping by!  Have a moo'valous day!
 
Supplies:
Paper:  SU! Pretty in Pink, SC Marks & Co SB kit
Stamps:  SU! Print Pattern
Ink:  SU! Tea Stain, Encore Silver
Accessories:  Tim Holtz Tiny Attacher, Mr. Huey Skyscraper, SC Marks & Co SB Kit (Amy Tan stitching stencil / kit; photo frames), SU! White Baker's Twine, DMC floss (black), AC Thickers Sotheby's in Charcoal, light molding paste, Target pink polka dot washi tape, SC cat paper clip, Janome Sew Mini, ribbon (velvet ric rac in light pink & hot pink; wide gray grosgrain, SU! gray taffeta), SU! fabric


Saturday, August 31, 2013

Mixed Media Color Challenge 6

While checking out the MFT September teasers, I also checked out the DT blogs.  I'm soooo glad I did.  I discovered Mona.  I think she's the Mixed Media Queen.  IDK...but she comes really close.  I also found "A Mixed Media Color Challenge" blog, where she is a hostess.

Here's the current challenge:

Challenge 6

And here's my page:


Inspiration was from several sources:  prompts from JOT Magazine Issue 1 on making pages without a purpose, making pages just cuz, just to be creative; the newly found AMMCC blog and a desire to use an older Studio Calico kit, Daydream Believer. 

I painted the patterned paper with my WIDE brush and some soft pink.  psst...I made my OWN soft pink!  Gesso + white acrylic paint + red acrylic paint!  After that dried, I sponged on some SU! Melon Mambo...yeah...it looks NEON.  It's supposed to match that bobbity boo...pom pom ribbon stapled @ the bottom.  That tape measure is my old tape measure I used when I was in 4-H.  Back to the background...then I used a dropper to add some dark gray Mr. Huey splatters! 


Accessories from the Daydream Believer kit include:  the pinked muslin banner and the butterfly!  I think the butterfly is gorgeous...and I do like the sequin trail!  I don't "do" butterflies.  BUT, I think it fits in with the "creative just cuz".  Also from the Daydream Believer kit were the creative words & phrases and some Dear Lizzy candy.  I signed my creation & stamped the date!

The photo is a favorite of mine.  I love tulips; I love my shop flower beds and step; I love Mickey Mouse...and that rusted ole' milk can...belonged to my Granddad.  


I had fun making a page just cuz...I guess that's my "art journal".  It will consist of removable 12 x 12 scrapbook pages.  

Thanks for stopping by!  Have a moo'valous day!


Sunday, February 3, 2013

Confidently!

I had plans for mixed media.  I had the journal.  I had a magazine with sticky notes on pages.  I had the Unity S.M.A.K. kits for several months.  THEN...Splitcoaststampers added a new challange - Mix-ability!  whoo hoo!
 
First up was YIN / YANG.  Something matte + something shiny.


My matte is gesso + embossing powder AND chipboard + sequins.   I don't guess chipboard & sequins are mediums.  LOL.  ;-)  But they still matte & shiny.  :-D
 
 
A page out of my new mixed media journal!

MIX1 - Yin / Yang // matte / shiny // gesso / embossing powder // chipboard / sequins

SUPPLIES:
Step #1 - painting
Paper - Theresa Collins Vintage Finds Word Labels (Studio Calico Roller Rink)

Other - clear gesso, white craft paint, foam brush heat gun
*****

Step #2 - stamping & embossing
Stamps - Unity February 2013 S.M.A.K. (going places), SU! Word Play

Ink - SU! Night of Navy craft

Other - SU! Stampin' Emboss Navy embossing powder, heat gun
*****

Step #3 - watercoloring
Ink - SU! dye ink in Poppy Parade, Wild Wasabi, Bashful Blue, Basic Gray

Other - paintbrush
*****

Step #4 - embellish & presentation
Other - Basic Grey Navy Chipboard Alpha (Studio Calico Sock Hop - exclusive), Janome sew mini, tan thread, sequins, glue dots, lime polka dot washi tape.
*****


Another view of my mixed media project.


You can really see the matte + shiny in the picture above! 
 
I had fun! I used so many supplies!  wow!   Are you gonna try mixed media?  Check it out!  HERE
 
Thanks for stopping by!  Have a moo'valous day!