Showing posts with label Dies SU Tasteful Trims. Show all posts

Thursday, October 12, 2017

DTGD17 - MSM's Minion Fun

Back in August, Splitcoaststampers held a Fan Club event called Dare To Get Dirty.  This is a annual event held for Fan Club members, with challenges thrown out by the current and past Dirty Dozen.  The Dirty Dozen is a rotating 12 member creative team for SCS.  The challenge details are secret - you have to be a Fan Club Member to know the detail - but we can share our projects.  

There are anywhere from 40 - 50 challenges over a 7 day period.  Queen status is obtained by completing every project by the deadline and uploading to the proper SCS gallery.  The deadline is just a few days after the event ends.   To make Queen status, a participant must complete one project for each challenge.  I call it the "iron man of papercrafting".  

So, each year I participate.  Each year, I make Queen status.  Not this year.  It was a "people over paper year".  And I'm totally OK with that.  


Ah, those cute Minions.  One night Phillip is playing around with photo filters on his iPhone and says, hey mom!  We also like to "talk to Siri" - this has resulted in tons of laughter.  But I digress.  This time it was photo filters.  

In creating this page, I mixed and matched products from my stash.  I really do like the look of navy as a neutral.  It's always fun to revisit old favorites - the Tasteful Trim die (the scallop strip), the Target washi tape (the hot pink striped strip), the silver sequins, the puffy pink hearts and the triangle punch.   And those navy letters!

It's not just the big things that make life grand, it's those random moments that warm the heart.  It's not just what the photo shows, but it's the story behind the photo and all the thoughts and feelings it creates in your heart.  Yes, this is a photo of me, taken by my son, with a fun filter - that's a great photo.  It's also a remind of those small random moments of happiness where we just share and laugh.  Those are the moments that warm the heart and make life grand. 

On another note, today marks the day Phillip starts a new journey in his life.  I wish him all the best as he embarks on a new adventure.  Love that kid! 

Thanks for stopping by!  Have a moo'valous day.

Monday, September 3, 2012

Sophomore Art Project

I'm getting my scrap back on.  I pulled this set of pictures from Phillip's sophomore art project.  Six pictures...and off I went to find a sketch.  I found 02.22.12 sketch from Let's Scrap.  Then I went to my Studio Calico Summer of '69 kits for supplies.  The main paper is the other side of the orange/pink/red star paper in the main kit. (bottom left hand side of the main kit picture)


I did go to my stash for two things - the tasteful trim die + basic black cardstock and the real red corduroy buttons & brads + white baker's twine.   I also used my Dymo labeler, a Dear Lizzy date stamp and Studio Calico School life stamp set.  Everything else was from the kits.


Left page.  And yes, the titling goes across two pages. 


Right page.


This was a create as you go title.  LOL.  I got worried there for a while.  I do like how it turned out. 


I did not have ANY banners that looked good with this...and I did not want to create my own...and I wanted to use up these brads.   I laid everything out beforehand.  For the smaller banner, I used a saucer and made pencil marks for how many brads I had, then punched the holes and inserted the brads.  For the larger banner, I used a plate.  I'm really pleased how this turned out. 


I pulled these SU! Real Red Corduroy Buttons & Brads from my stash.


Detail of the journaling card.  "Grade A+" stamped on the journaling card is from Studio Calico School Life stamp set.


I never thought these papers would go good with a Jason Hockey Mask.  LOL.  While I love the titling, my favorite element has to be the brad banner.

Thanks for stopping by!  Have a moo'valous day!
 
CREDITS & SUPPLIES
 
Let's Scrap Sketch 02-21-12
 
Stamps: Studio Calico School Life
 
Paper: Night Own (SU!), Vera (American Crafts Shoreline), Black (SU! Basic)
 
Ink: SU! Whisper White Craft, SU! Basic Black (foam pad)
 
Accessories: Date Stamp (Dear Lizzy), Red Letters (Basic Grey Studio Calico Exclusive), Sunnyside Alpha Corrugated Cream (Pebbles), Mini ABC Stickers (Pebbles), Tasteful Trims Die (SU!), Stampin' Dimensionals (SU!), Die Cuts (Studio Calico Exclusives), Stitched Brads (Basic Grey Paper Cottage), Brads (Basic Grey Jovial), Corduroy Buttons & Brads (SU! Real Red), Baker's Twine (SU! Whisper White), Conversation Tabs (A Life Handmade), Labeler (Dymo)

Friday, July 6, 2012

Elmwood Park is Hot & Dry

Not sure about Elmwood Park...but it surely is hot & dry in Elizabethtown KY!  whew.


What's this Elmwood Park stuff, you ask?  AH...Studio Calico July kit.  I went nuts.  LOL.  Ain't that an understatement.  I purchased the main kit+ four add-on kits + extra patterned paper + stuff from the shop.  Six point one pounds of papercrafting goodies...right to my doorstep from Bowling Green KY.  woot!  PLUS I have a 3 inch stack of photos I just picked up from Walgreens.  WHOO HOO!  Sandwiches for supper last night AND again tonight.  ;-)  Good thing it's hot.  Dale likes sandwiches for supper when it's hot outside.  ;-) 

Where was I?  Oh yes.  I used a sketch from Let's Scrap (7-4-12).  The sketch featured a sunburst and a link to a tutorial to create your own sunburst from patterned paper!  I love it!  I stitched the edges of the papers down with a zig zag stitch...I love sewing on paper!  I will say, this double page spread took at least four hours. 


The main page.

Here's a close up of the zig zag stitching and the stacked paper & tin medallion in the midst of the sunburst!


I outlined around the title to make it stand out more. I never thought I would like...ahem...birds.  But these wood veneer birds from Studio Calico are so darn cute!   I saw these stacked on a sneak peek...and just could not resist using that idea in my layout!


The left page.

A close-up of the temperature ranges 12 hours apart.  I added the lettering to the photo & used a 9 to 5 tin pin. 


Here's a close up of the stacked star medallion.  Again, using die-cuts + buttons from the Studio Calico July Kit + Add-Ons.  The scallop trim was created using Stampin' Up! Tasteful Trim die.


Cracked & Crunchy.  Tags & ampersand tin pin from 9 to 5 collection by October Afternoon.

I'm so loving the Studio Calico kits and the Let's Scrap sketches.  I'm super excited about the possibilities...I hope I can continue to find time to scrap. 

Thanks for stopping by!  Have a moo'valous day!

Thursday, June 7, 2012

Counterfeiting Add-On Kits - NEWPORT from Studio Calico

I fell in love with Studio Calico kits.   This month's main kit is So Cal.  I have no worries on the main kit selling out because I subscribe.  HOWEVER, for any of the four monthly add-on kits...that's another story.  (sigh)  Well...I did get the add-on kit I wanted last month...and when it arrived...I...ahem...thought it was too expensive for what I got.  Then I wasn't fast enough to get the add-on kit I wanted for June.  Now, it all sounds like I have bad vibes....NO NO!  I decided from this point forward, I will counterfeit the add-on kits I liked...using stuff from my stash!

Here's my counterfeit NEWPORT add-on kit.

My Counterfeit Newport Add-On Kit.


Here's my inspiration, Newport Add-On Kit for June 2012 from Studio Calico.

Inspiration Kit from Studio Calico Newport Add-On

THE COMPARISON.

Chevron paper - created using SU! DSP, PTI Chevron Die and Xyron.

Yellow scallop paper - created using SU! DSP and SU! Tasteful Trims die.

Butterflies are embossed and die cut from an older SU! canvas die cut set using Beautiful Wings embosslit.  Some of the canvas die cuts I had already applied Fashion District rub ons.  This created some really interesting butterflies. 

Journaling card - created from a 3 x 5 index card, scrap cardstock and a banner from another kit + SU! heart punch.


I was really stumped on those green jewel things.  They are "crystal candy dots".  I had to google that.  They are like dew drops, only they look like many dew drops glued on a dome.  They are faceted.  The pink jewels in my kit will provide that sort of sparkle the "crystal candy dots" provided in the inspiration kit. 
My Big Shot got lots of use!  I love creating my own thing...I have just added the add-on to my main So Cal kit!  And I'm soooo pleased to see how it all coordinates.  WOW!   This was sooooo much fun. 

So...whatcha think?  Did I do good? 

Thanks for stopping by!  Have a moo'valous day!

Tuesday, June 21, 2011

Shabby Chic Cards (Part 1 - Thank You)

Remember all this - the die cut doilies, butterflies and strips 'n' scraps of beuatiful SU! designer paper - I showed ya a few days ago?


Pick one from each pile, put 'em together; repeat THREE times.  I got these:

Ain't dey purty?

Thank You #1

Thank You #1 (Inside & Envelope)

Thank You #2

Thank You #2 (Inside & Envelope)

Thank You #3

Thank You #3 (Inside & Envelope)

This time, I did the insides and the coordinating envelopes.  I did not have any thank you sentiments to stamp inside; however, I did find a list of thank you sentiments on SCS that I will hand write inside the card depending on who or what the card is for.  So while the cards were mass produced, they will still have a unique personal touch especially for the recipient.

Thank you for stopping by.  Have a moo'valous day!

SUPPLIES (all supplies Stampin' Up! unless indicated otherwise)
Stamps:  Wonderful Words, Bliss
Ink:  Basic Black, Pretty in Pink, Daffodil Delight, Pumpkin Pie, Melon Mambo, Wisteria Wonder
Paper:  PTI White, Flirtatious DSP
Accessories:  Baker's Twine - White; Button Boutique Sherbet; paper piercer & mat, paper snips, Big Shot, Beautiful Butterflies (die), Janome' sew mini & white thread, mono multi, Tasteful Trims (die), corner rounder.

Wednesday, June 15, 2011

Butterfly Shabby Chic

I decided to try a new style.  Shabby chic.  Me, the neat nic...shabby chic.  But, after it's all said & done...you can see the cripsness...I think I like the freedom.

This project consists of 11 cards...mass produced...Michelle Wooderson style.  ;-)

I cut & scored 10 card bases...added the 11th later...using PTI White.   

I wanted to use DSP I purchased on SU! pre-order, specifically, the Flirtatious Specialty DP from Stampin' Up! to be available in the new IB&C.  The colors are Melon Mambo, Pumpkin Pie, Pretty in Pink and Wisteria Wonder.  I think there's some Daffodil Delight in as well.  There are two laser cut sheets of doilies.  I cut these apart to create 16 individual doilies.   I was go glad to have my new sharp SU! Paper Snips for this job!


It took a while; but, it sure is pretty.  :-D  I took a much needed break after this.  ;-)

I decided to do something easy, cut the main DP panels.  These are 4 x 4 squares, with rounded corners.


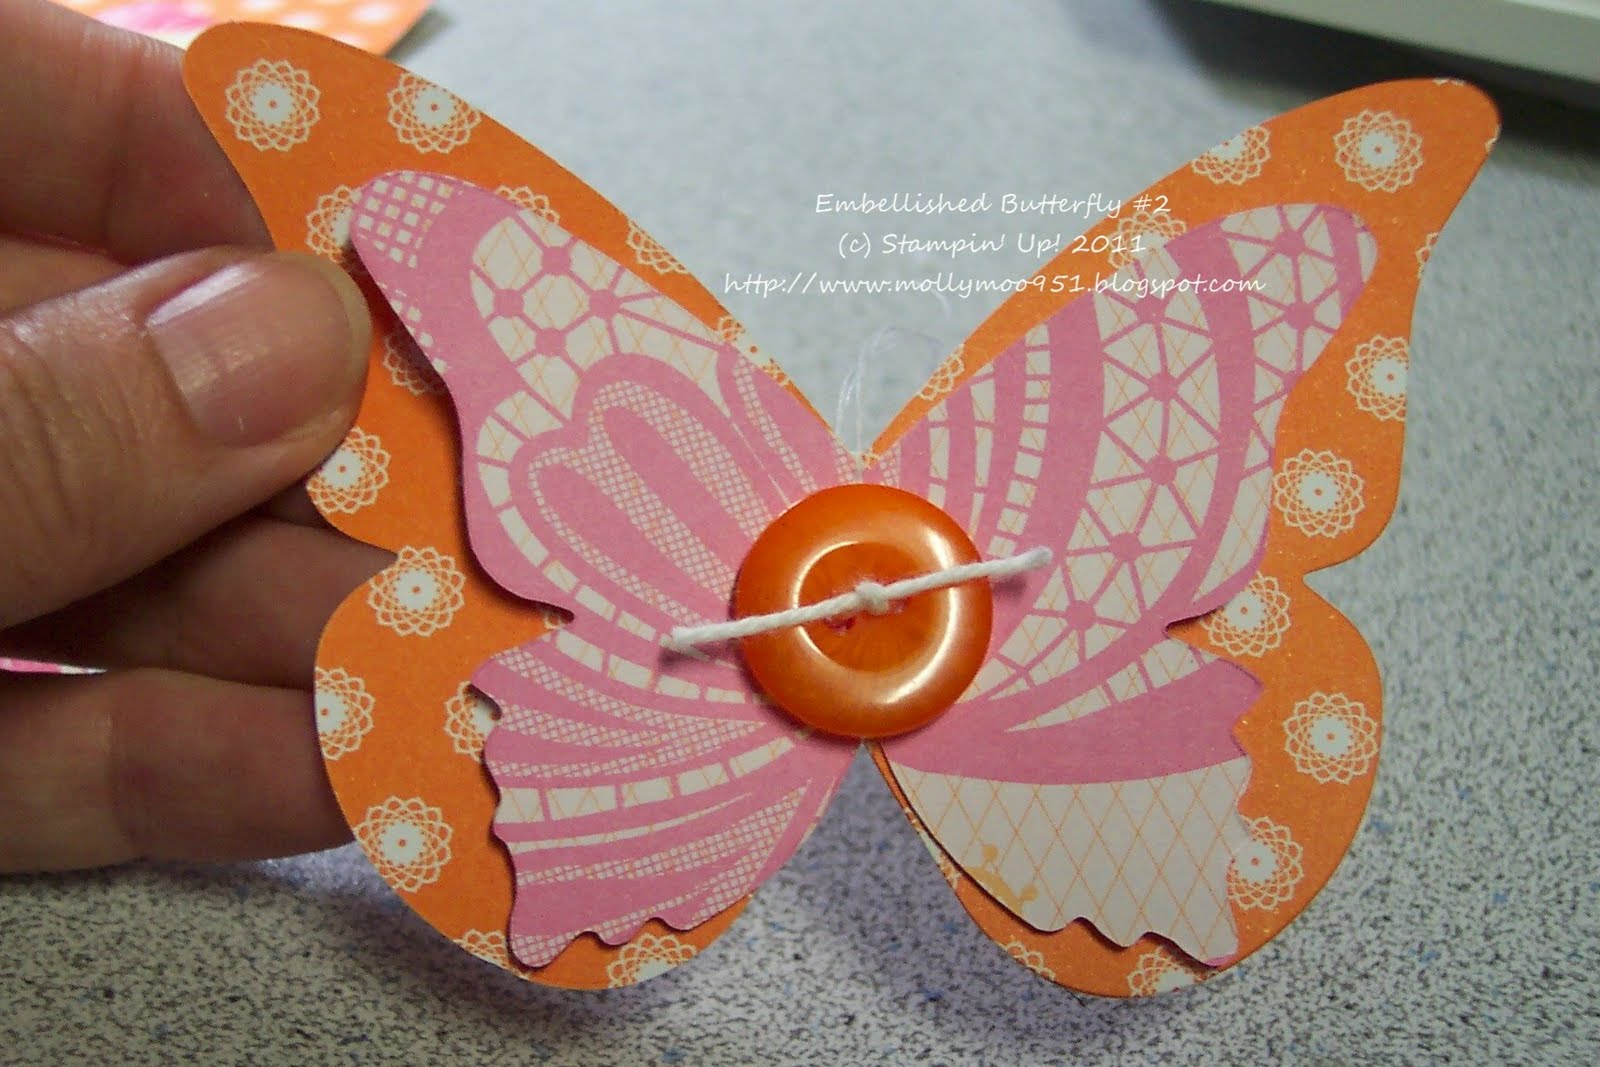
I have discovered that I love making my own embellishments!  I die cut butterflies, layered them and machine stitched; then added buttons.


Have you sewed on your cards or scrapbook pages?  This is the first time I have ever sewed on paper.  I LOVE IT!  OMGoodness!  I love it!  I think because I have gotten my craft room arranged & decluttered where I can just grab the machine & go!  I have a Janome Sew Mini I use to sew on paper. 


I decorated the butterflies with buttons sewed on with the new SU! Baker's Twine.  OMGosh!  I love the baker's twine.  It's wonderful!  I wish I had left the threads long at the top of all the butterflies, but I did on the larger ones & you can see that I stitched it.  On the smaller ones...ahem...the button covers the stitching.  LOL  Oh well...you can still see if it you look closely and I sure had fun stitching!  The buttons are from Stampin' Up! Designer Buttons Sherbet.


Here's another one:


Next, I STAMPED!  Yes, I stamped.  I stamped (have I said that already?) I stamped a sentiment on a strip of Flirtatious DP and then embellished the strip with...ahem..."scraps" I die cut from the whole sheets of Flirtations DP.  I'm positive y'all have double fainted already. 

Yes, I made "scraps".  LOL  Die cut with the wonderful Tasteful Trims Bigz XL Die.  I chose two styles from the die - the large ric rac and the scallop border.  Then I cut the die cut pieces up into little pieces.  :-)

I sewed the "scraps" to the sentiment strip!  Like so:


All the ingredients:


Tomorrow, the fun begins.  I put all this together & make cards!


Thursday, December 30, 2010

Scrap Card

Do you need a great card idea to use up your long scraps?  How about these?


Purty, aint' they?  I wanted to make some Christmas cards.  I had some Fruitcake strips & scraps.  Basic Grey Fruitcake, that is.  I got the idea from Andrea Walford, a Canadian SU! demonstrator.  I made eleven cards in all!  Whoo hoo!  It took ALL freaking day!  OMG!  Who would've thought it would take all freaking day to make 11 cards?  It was fun and I really really do like the result! 


There were lots of combinations of paper patterns to choose from to mix and match.  I think some of the cards look like a cottage roof! 

SUPPLIES
Stamps: Christmas Greetings
Paper: SU! Soft Suede, Basic Grey Fruitcake
Ink: SU! Soft Suede Classic
Accessories: SU! Tasteful Trim XL Die, Big Shot, SU! 5/8" Old Olive Satin, SU! Sherbet Button Boutique, SU! Linen Thread, Mono Multi, Glue Dots, Stamp-a-ma-jig