Showing posts with label Buttons. Show all posts

Wednesday, June 15, 2011

Butterfly Shabby Chic

I decided to try a new style.  Shabby chic.  Me, the neat nic...shabby chic.  But, after it's all said & done...you can see the cripsness...I think I like the freedom.

This project consists of 11 cards...mass produced...Michelle Wooderson style.  ;-)

I cut & scored 10 card bases...added the 11th later...using PTI White.   

I wanted to use DSP I purchased on SU! pre-order, specifically, the Flirtatious Specialty DP from Stampin' Up! to be available in the new IB&C.  The colors are Melon Mambo, Pumpkin Pie, Pretty in Pink and Wisteria Wonder.  I think there's some Daffodil Delight in as well.  There are two laser cut sheets of doilies.  I cut these apart to create 16 individual doilies.   I was go glad to have my new sharp SU! Paper Snips for this job!


It took a while; but, it sure is pretty.  :-D  I took a much needed break after this.  ;-)

I decided to do something easy, cut the main DP panels.  These are 4 x 4 squares, with rounded corners.


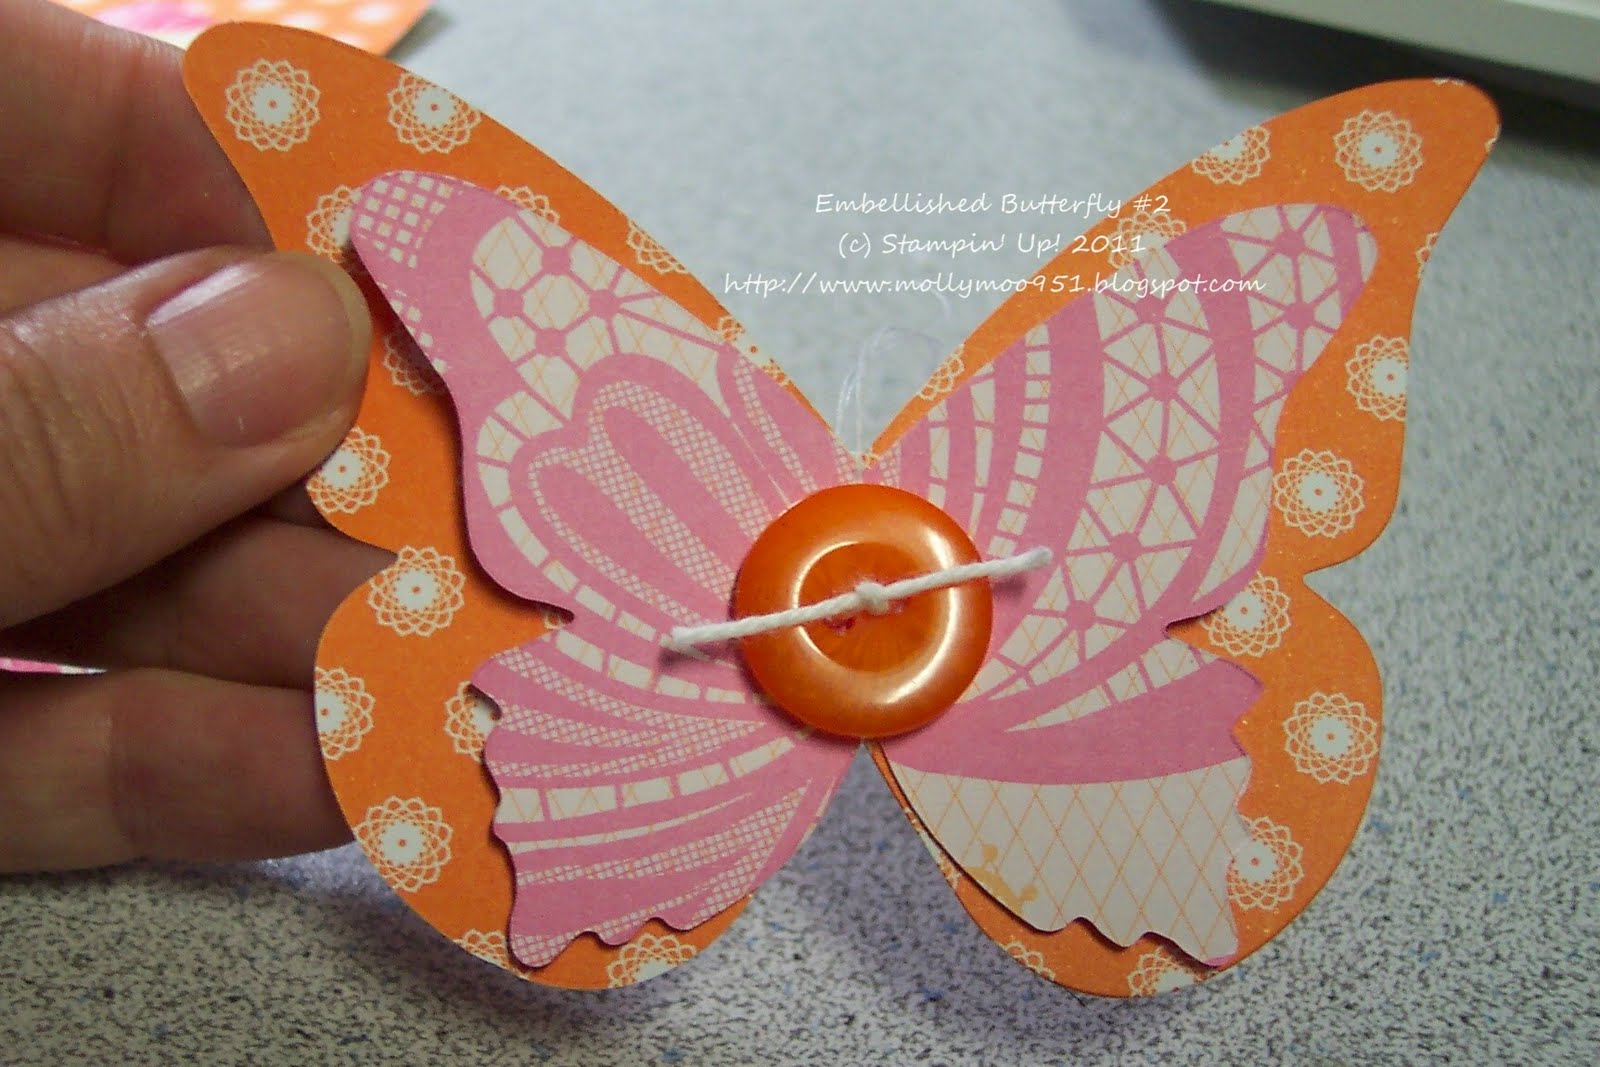
I have discovered that I love making my own embellishments!  I die cut butterflies, layered them and machine stitched; then added buttons.


Have you sewed on your cards or scrapbook pages?  This is the first time I have ever sewed on paper.  I LOVE IT!  OMGoodness!  I love it!  I think because I have gotten my craft room arranged & decluttered where I can just grab the machine & go!  I have a Janome Sew Mini I use to sew on paper. 


I decorated the butterflies with buttons sewed on with the new SU! Baker's Twine.  OMGosh!  I love the baker's twine.  It's wonderful!  I wish I had left the threads long at the top of all the butterflies, but I did on the larger ones & you can see that I stitched it.  On the smaller ones...ahem...the button covers the stitching.  LOL  Oh well...you can still see if it you look closely and I sure had fun stitching!  The buttons are from Stampin' Up! Designer Buttons Sherbet.


Here's another one:

Next, I STAMPED!  Yes, I stamped.  I stamped (have I said that already?) I stamped a sentiment on a strip of Flirtatious DP and then embellished the strip with...ahem..."scraps" I die cut from the whole sheets of Flirtations DP.  I'm positive y'all have double fainted already. 

Yes, I made "scraps".  LOL  Die cut with the wonderful Tasteful Trims Bigz XL Die.  I chose two styles from the die - the large ric rac and the scallop border.  Then I cut the die cut pieces up into little pieces.  :-)

I sewed the "scraps" to the sentiment strip!  Like so:


All the ingredients:


Tomorrow, the fun begins.  I put all this together & make cards!


Tuesday, March 1, 2011

Sew Fashionable

I think it looks like something from a posh dressing room.


Lots of things going on here!  It all started with...ahem...I have NO idea!  I'll start where I started.  With this tutorial from Michelle Zindorf!  The inks I sponged were Crumb Cake for the wall & River Rock for the floor.  Then I stamped the sewing dummy from Sew Suite in Basic Black.  Then there was the VSN Mash Up challenge..in reference to the show Glee (which I do not watch, I'm a NCIS, Criminal Minds, Mentalist type of gal!)...which is to make your own mash up by using two (or more) techniques on your card or project!

I decided to paper piece.  A new one for me!  I already sponged and masked!  Then I found a sketch....SCS SC220...and WAIT...there's the Flybaby challenge to use at least five colors on your card! 

I'm pleased with the card.  Remember the red buttons and the crystal effects mess...yep...that's the button!  I'm loving the Patterns Pack in the In Colors - this is a hostess item from the big catalog.  I love the Concord Crush!  It looks awesome with the Pretties Kit pearls and the Raven Lace.  I'll be mailing this one in a padded envelope!


Thanks for stopping by!  Have a moo-valous day!

SUPPLIES:
Stamps: Sew Suite
Paper: SU! In Color 6 x 6 Pattern Pack (Hostess), Whisper White, Crumb Cake, Basic Black
Ink: Basic Black, River Rock, Crumb Cake
Accessories: Pop dots, Pretties Kit, Glue Dots, Sticky Strip, Raven Black Lace, Black Satin Ribbon, Faux Button, Sponges, Post It Notes, Basic Gray Marker
Techniques: Paper Piecing, Masking, Sponging, Faux Button


Tuesday, February 22, 2011

Dressing Up Counterfeited Buttons

A few days ago, I created faux buttons by counterfeiting.  Check out this post.

One of my readers left a comment about using Crystal Effects on faux buttons.  At the time, I had these little beauties drying.   


And I wondered WHY I purchased Circle Circus!   I was looking for stamp sets that had a circle motif.  And rediscovered these stamps!  That would be the larger Melon Manbo circles and the two left most matte buttons.  I think I like the Tangerine Tango buttons and the large Melon Mambo buttons best - where the images go to the edge and beyond.  If I'm going to choose a smaller image, I would probably leave them unfinished...I think the unfinished ones look like wooden buttons. 


This is my favorite!  So so pretty!  Glossy and shiny!  I love it!  Working with Crystal Effects is messy!  I dripped it on my work shirt...on my jeans...on my hands...good grief.  I did get most of it on the buttons, tho!  LOL  This was my first time working with something like this.  It was striking a balance between covering the top completely or getting it over the edge and the button stick to the paper yuckily.  I wonder what type of surface to set these on...I used Reynolds Wrap...but I wonder if waxed paper would work...something that's "easy release".  A rubber craft mat...I don't have.  A silicone baking sheet I do have.  Hmmmm....


You can see where I didn't get the Crystal Effects to the edge of the chipboard...depending on the project I use the buttons on...it'll be OK.


I really do like the Tangerine Tango buttons!    The stamped image is from SU! Charming.


My DS made these!  He wanted them left unfinished.  I think it makes them look like wooden buttons.  I even like the ink "overspill" on the buttons.  It would look really good on a very distressed piece.

Overall, I'm very happy with the faux buttons.  Definitely glad I counterfeited them!  ;-)  And I'm definitely embellishing more counterfeited buttons! 

Thanks for stopping by!  Have a moo-valous day!

SUPPLIES (all SU! unless stated otherwise)
Creation of the buttons themselves - see THIS post.
Embellishment supplies
Stamps:  Circle Circus, Charming
Ink: Tangerine Tango, Melon Mambo, Real Read, Chocolate Chip
Supplies & Accessories:  Crystal Effects

Friday, February 18, 2011

Counterfeit Buttons

That same release I mentioned here had me tempted with one more thing...a button die!  Oh goodness...I can make buttons from chipboard...felt....basically anything.  Yes, you can make buttons with DSP, cardstock and punches.  I haven't been brave enough to try to punch a piece of chipboard.  ;-) 

I got to thinking....hmmmm...I have that circle die...it has four sizes of circles....


'The details at this point...one 4 x 4 chipboard square covered all four circles on my die.  After die cutting, I ran one through my Xryon and made a sandwich.  After I had doubled the thickness of the cut out, I used my sanding block to "blend" the edges, round the edges and distress the flat surfaces. 

Using Tangerine Tango and the medallion from SU! Charming, I stamped the circles that were slightly smaller than the stamp.  Then...


Center a hole from the mat stack over the center of the button and make a dot in the middle of each of the two adjoining holes. 


Now the fun part...crop a dile time!  Remember to keep the fingers out of the way.  I noticed yesterday, I WAS keeping my fingers out of the way.  A pinch from the crop a dile is quite painful. 

The finished product!  Now, I really don't need a button die! 

Over the last two posts, I have shown how I talked myself out of a $54 plus shipping new release order.  I already had the stuff...and it really didn't take longer to D.I.Y. as it would to use the ready made products.  Plus, some of these steps...are fun....for me at least. 

Have a moo-valous day!

SUPPLIES:
Stamps - SU! Charming
Ink - SU! Tangerine Tango
Accessories / Tools:  SU! Big Shot, Chipboard, Sizzix Circle Die, SU! Crop A Dile, SU! Mat Stack, SU! Sanding Block